Viewing the vSphere Client Remote Plug-in Sample
After you build and register the remote plug-in sample, you can view it in the vSphere Client.
To view the remote plug-in sample, you must run the plug-in server. If the server is not running yet, change to the root directory of the remote plug-in sample and use a command similar to the following example, but substitute the details that pertain to your vCenter Server:
java	-jar target/remote-plugin-sample-7.0.1.00000.jar \
  --logging.path=logdir \
  --vcenter.guid=223b94f2-af15-4613-5d1a-a278b19abc09 \
  --vcenter.thumbprint=274172e07a754b9811a4fb5fc45384a79a5c258d13fa1667185016f28685fc54 \
  --vcenter.fqdn=vcenter-1.example.com --vcenter.port=443
To view the plug-in user interface, open a browser window and connect to the vCenter Server instance where you registered the plug-in. Use the fully qualified domain name of the vCenter Server to match the server certificate. From the welcome screen you can launch the vSphere Client.
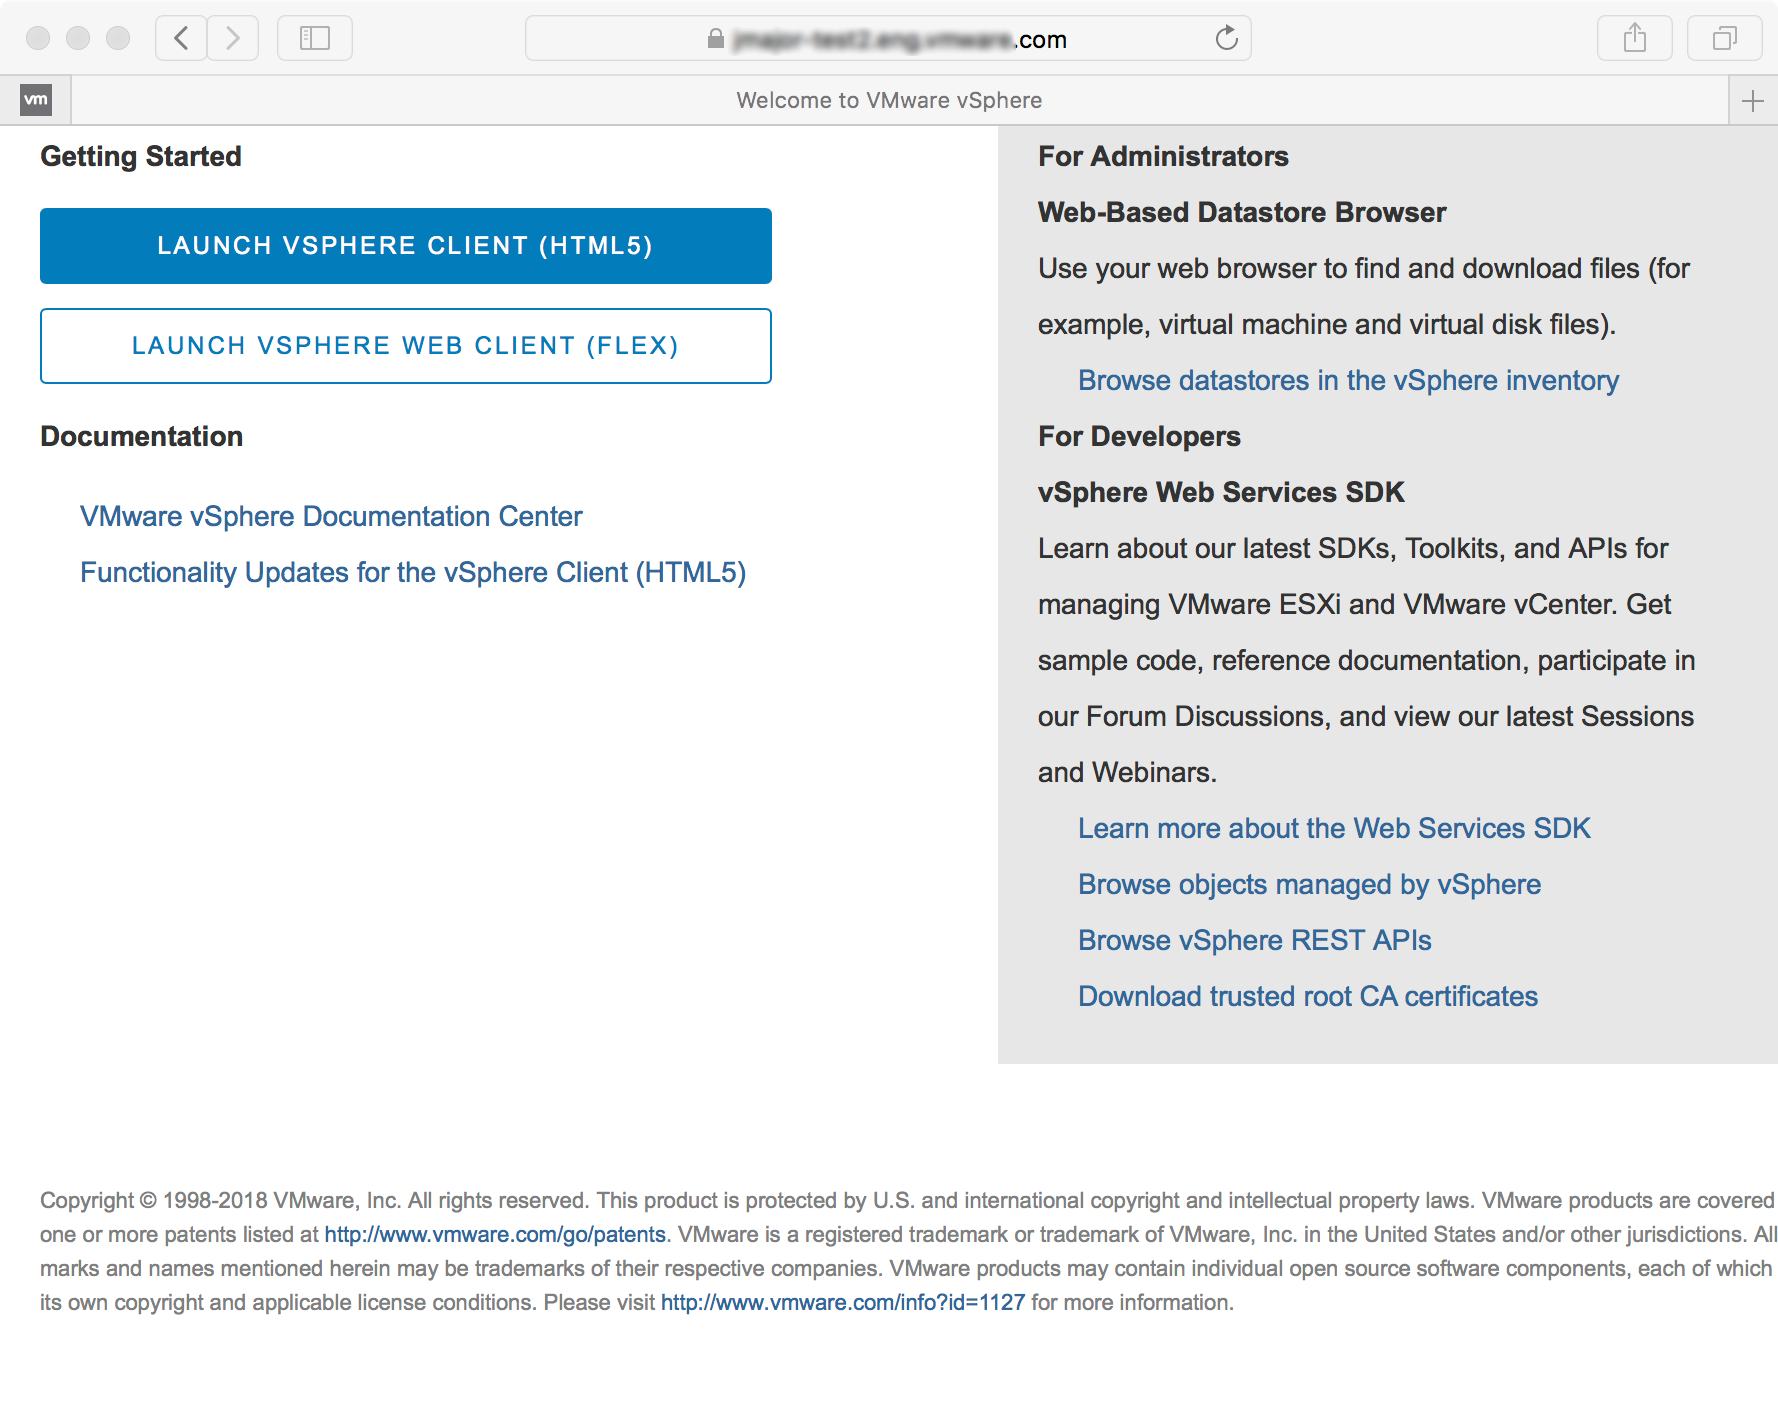
After you select LAUNCH VSPHERE CLIENT (HTML5) and authenticate with vCenter Server, the vSphere Client displays the home page with a SDK Remote Plugin link in the object navigator pane on the left. The link leads to the remote plug-in global view.
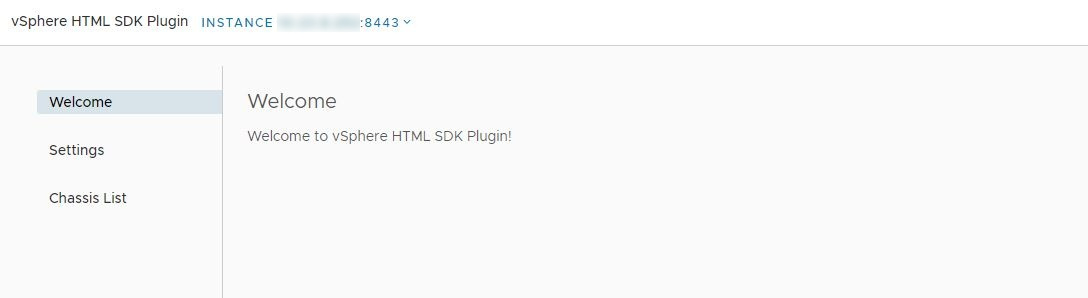
The plug-in global view includes the following subviews:
-
A welcome page is the default page for the global view.
-
A settings page allows you to change the number of items displayed in the Chassis List page.
-
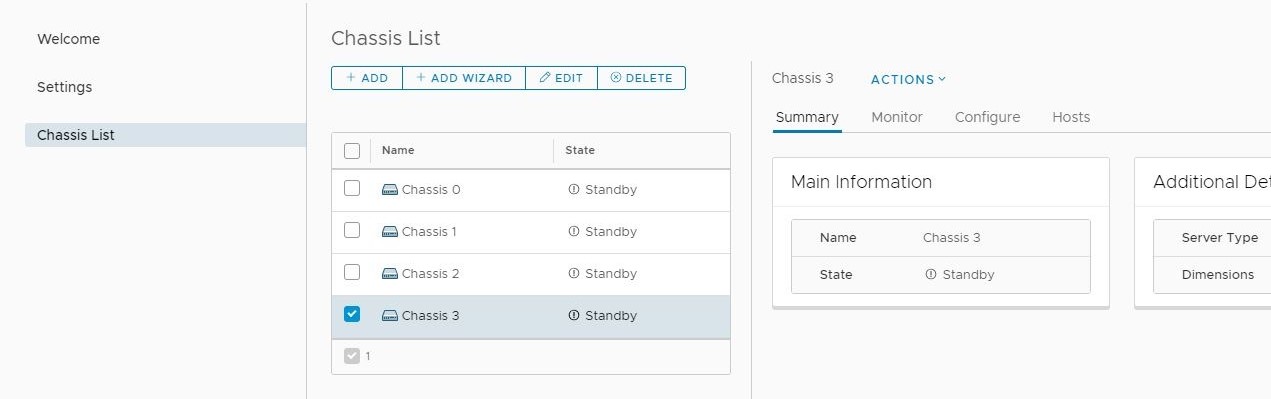
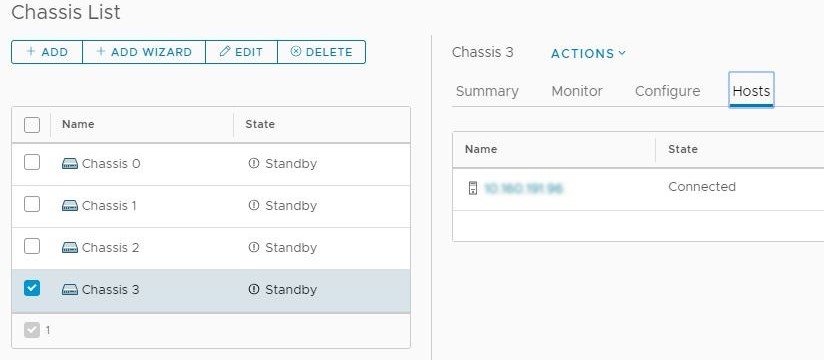
A Chassis List page displays summary information about the Chassis objects currently in the store. The Chassis store is initialized with several random Chassis objects for display. On the Chassis List page you can do the following actions:
-
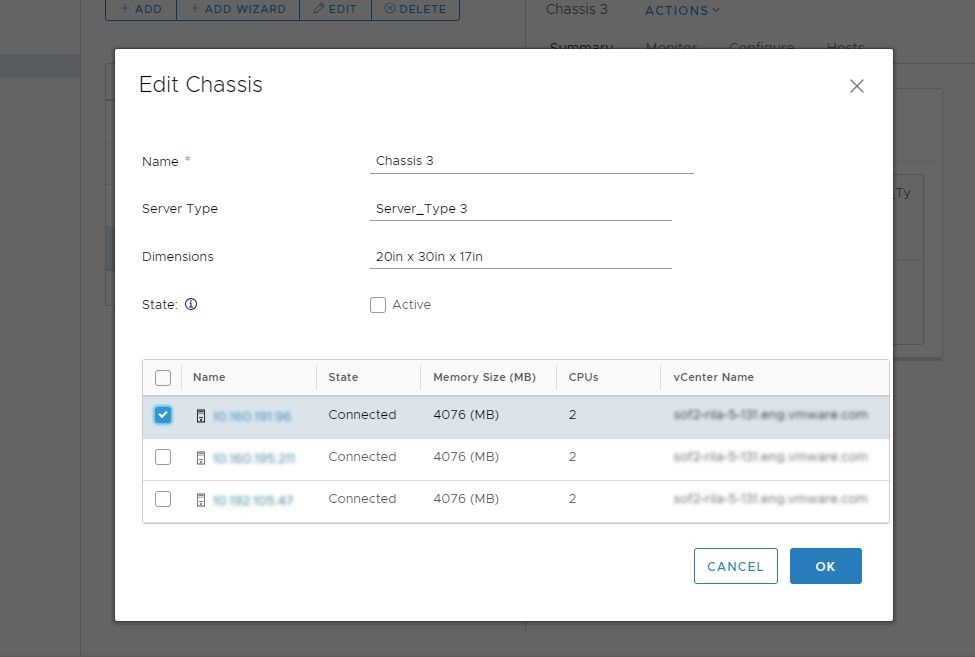
Edit the Chassis object properties in a modal dialog.
-
Display related Host objects.
-
Display the Monitor subview or the Configure subview.
-
The code that supports these actions demonstrates how to use a modal dialog, how to create, delete, and update Chassis objects, and how to make calls to the plug-in server and the vCenter Server. The following illustrations show some of the features of the global view.

The Global View extension point is specified by the following lines from the manifest file, plugin.json:
"global": {
   "view": {
      "navigationId": "com.vmware.remote.sample.entrypoint",
      "uri": "index.html?view=entry-point",
      "navigationVisible": false
   }
}
The Global View content is specified in the file entry.point.component.html.
In addition to the global view and its subviews, the remote plug-in sample provides portlets that show how to extend the VirtualMachine vSphere object. You can see the portlets in context in the following illustrations.
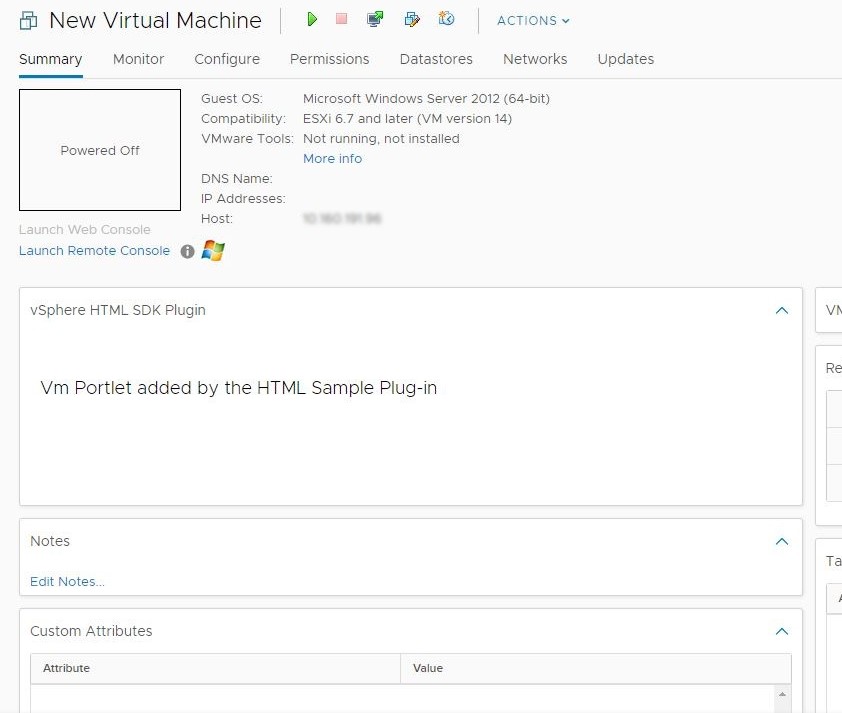
The VirtualMachine Summary View extension point is specified by the following lines from the manifest file, plugin.json:
"objects": {
   "VirtualMachine": {
      "summary": {
         "view": {
            "uri": "index.html?view=vm-portlet",
         }
      },
      ...
   }
}

The VirtualMachine Monitor View extension point is specified by the following lines from the manifest file, plugin.json:
"objects": {
   "VirtualMachine": {
      ...
      "monitor": {
         "views": {
            "navigationId": "com.vmware.remote.sample.monitor",
            "labelKey": "RemoteSample:vm.monitor.view.title",
            "uri": "index.html?view=vm-monitor",
         }
      }
   }
}
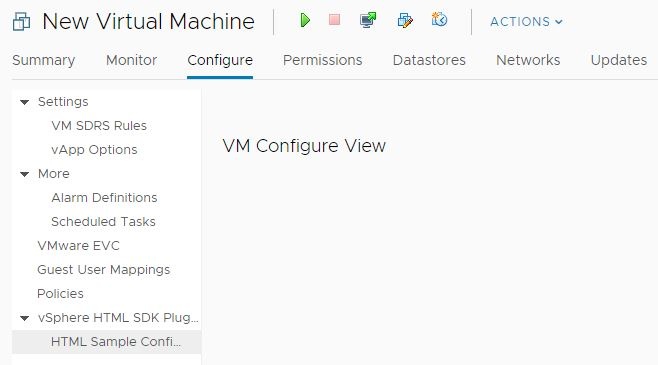
The VirtualMachine Configure View extension point is specified by the following lines from the manifest file, plugin.json:
"objects": {
   "VirtualMachine": {
      "configure": {
         "views": {
            "navigationId": "com.vmware.remote.sample.configure",
            "labelKey": "RemoteSample:vm.configure.view.title",
            "uri": "index.html?view=vm-congfigure",
         }
      }
   }
}
The remote plug-in sample shows how to add an action item to a context menu for a VirtualMachine object. You can see how this appears in the following illustration.
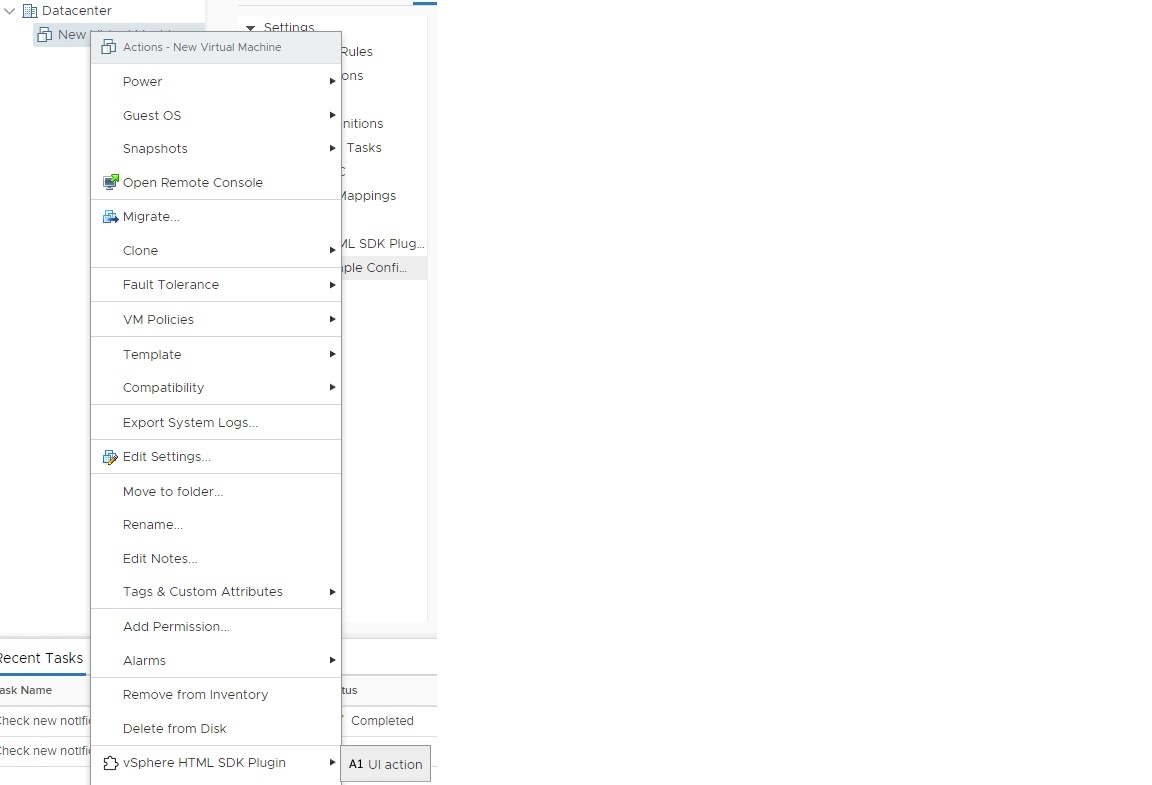
The VirtualMachine context menu extension point is specified by the following lines from the manifest file, plugin.json:
"objects": {
   "VirtualMachine": {
      "menu": {
         "actions": {
            "labelKey": "RemoteSample:vm.action.label",
            "icon": {
               "name": "action-1"
            },
            "trigger": {
               "type"; "modal",
               "uri": "index.html?view=vm-action-modal",
               "titleKey": "RemoteSample:vm.action.model.title",
               "size": {
                  "width": 600,
                  "height": 250
               }
            }
         }
      }
   }
}
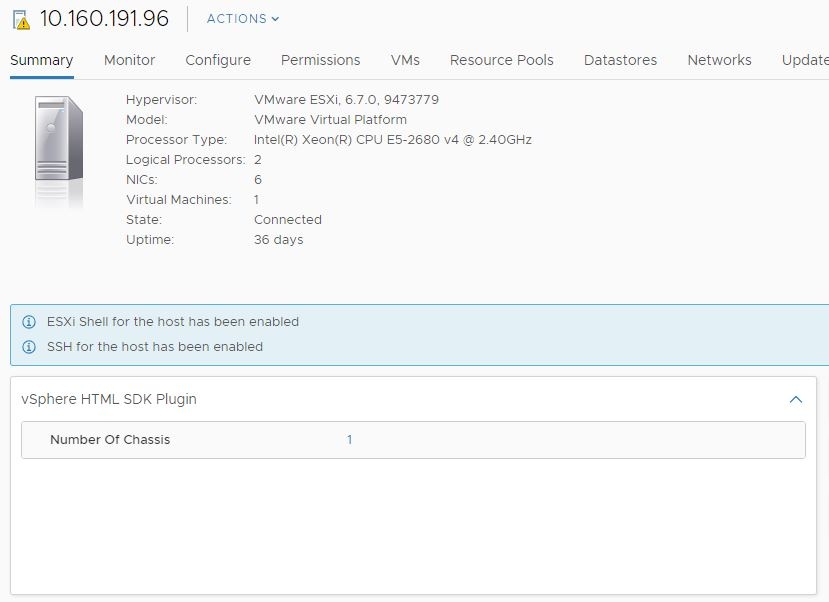
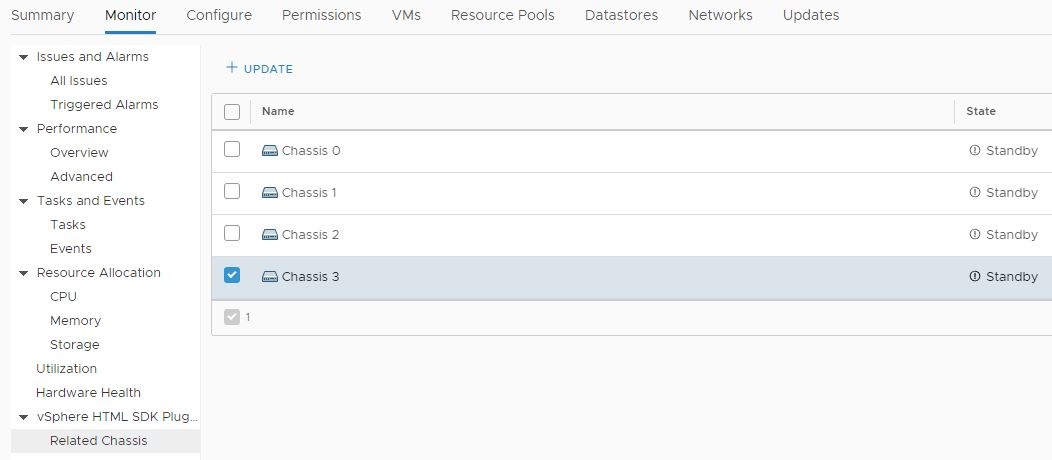
The remote plug-in sample displays a HostSystem Summary view and a HostSystem Monitor view also. The Summary view shows the number of related Chassis objects. You click the number to reach the Monitor view. The Monitor view displays a datagrid listing all available Chassis objects. To create a relation between a HostSystem and a Chassis object, select the checkbox beside the Chassis object and click Update.
The HostSystem Summary View extension point is specified by the following lines from the manifest file, plugin.json:
"objects": {
   "HostSystem": {
      "summary": {
         "view": {
            "uri": "index.html?view=host-summary"
         }
      }
   }
}
The HostSystem Monitor View extension point is specified by the following lines from the manifest file, plugin.json:
"objects": {
   "HostSystem": {
      "monitor": {
         "views": [
            {
               "navigationId": "hostMonitor",
               "labelKey": "host.monitor.view.title",
               "uri": "index.html?view=host-monitor"
            }
         ]
      }
   }
}